Stage Lighting 101
So this March 14th we had to conduct a few programs on stage celebrating Pi Day at our college. Being the cheapskates we are, we decided to rent the stage lights and light controllers from a local rental and do the configuring ourselves (knowing full well that we don’t know a thing about stage lights). Well things happened, which led to us going through the rabbithole that is DMX lighting.
The DMX standard
The DMX lighting standard was introduced as a way to unify all the various standards there existed for interconnection of stage lighting equipment. And it is safe to say that it was indeed successful in doing so. To understand DMX, you have to understand some terminology behind it.
Dimmer
A dimmer is something whose value can be adjusted through a range of values between a max (full power) and min (off). A digital dimmer, which is what we are concerned can take 256 discrete values from 0-255.
Fixture
A fixture is anything that has one or more dimmers in it and can be connected via a DMX cable. eg : Stage Light (known in the industry as a “PAR Can”), Smoke/Fog Machines, etc.
Historical Baggage : The name PAR Can is a misnomer since it was originally used for Parabolic Aluminized Reflector (PAR) lamps having a non-LED source. Nowadays most are LED lights which don’t require PARs but are still called as such.
Clarification : Yes. Smoke machines have “dimmers” in them. Think of it as a tap that controls flow (of light, mist, etc).
DMX512
DMX stands for digital multiplexing. It is basically a set of instructions to send multiple signal through same cable to different equipment interconnected to each other. As the name suggests it supports upto 512 dimmers.
DMX Mixer
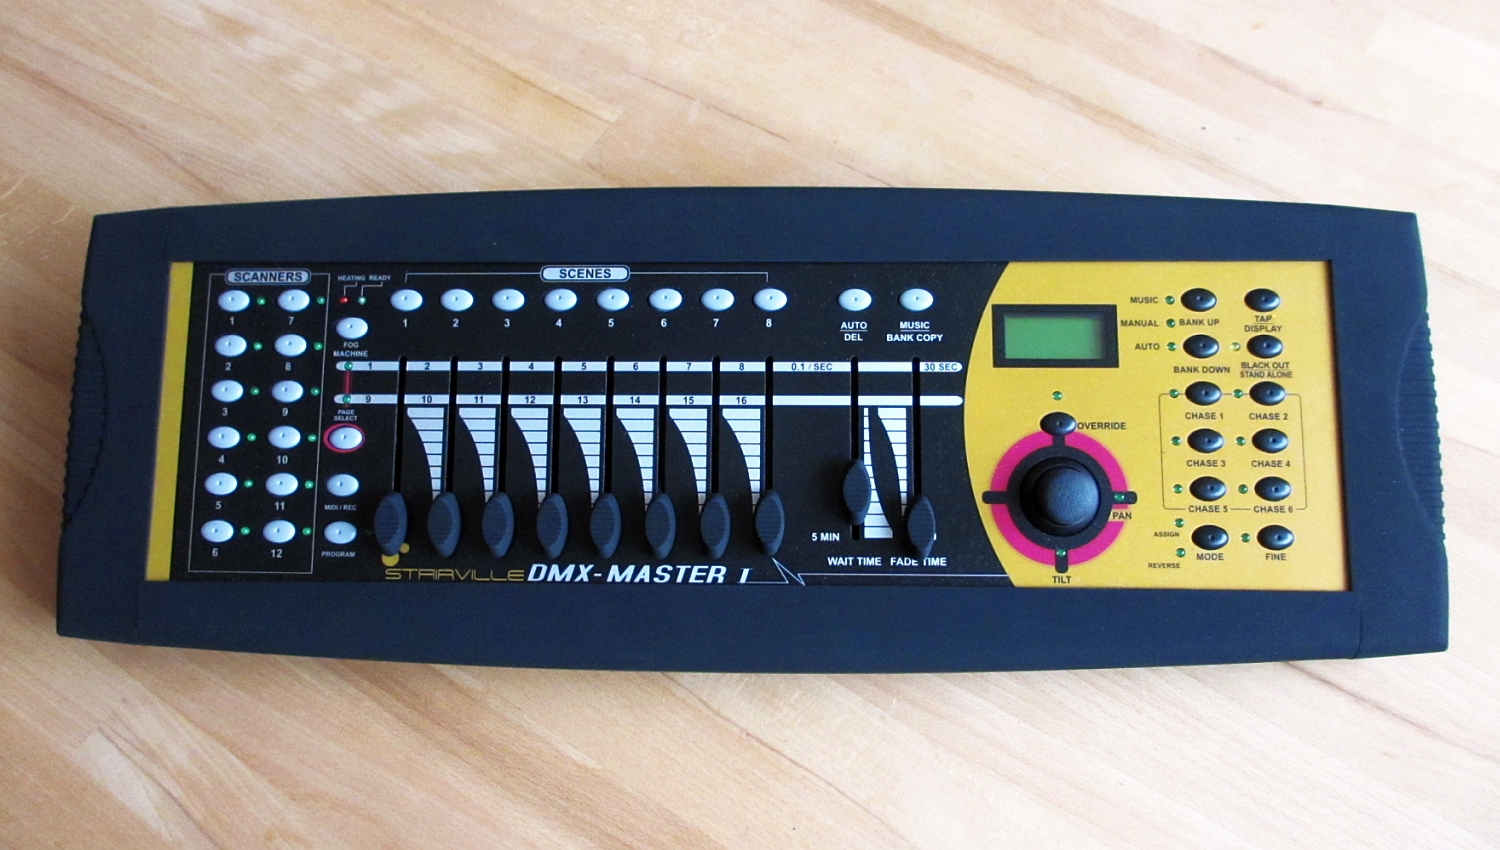
A device used to send values to the various fixtures.
XLR
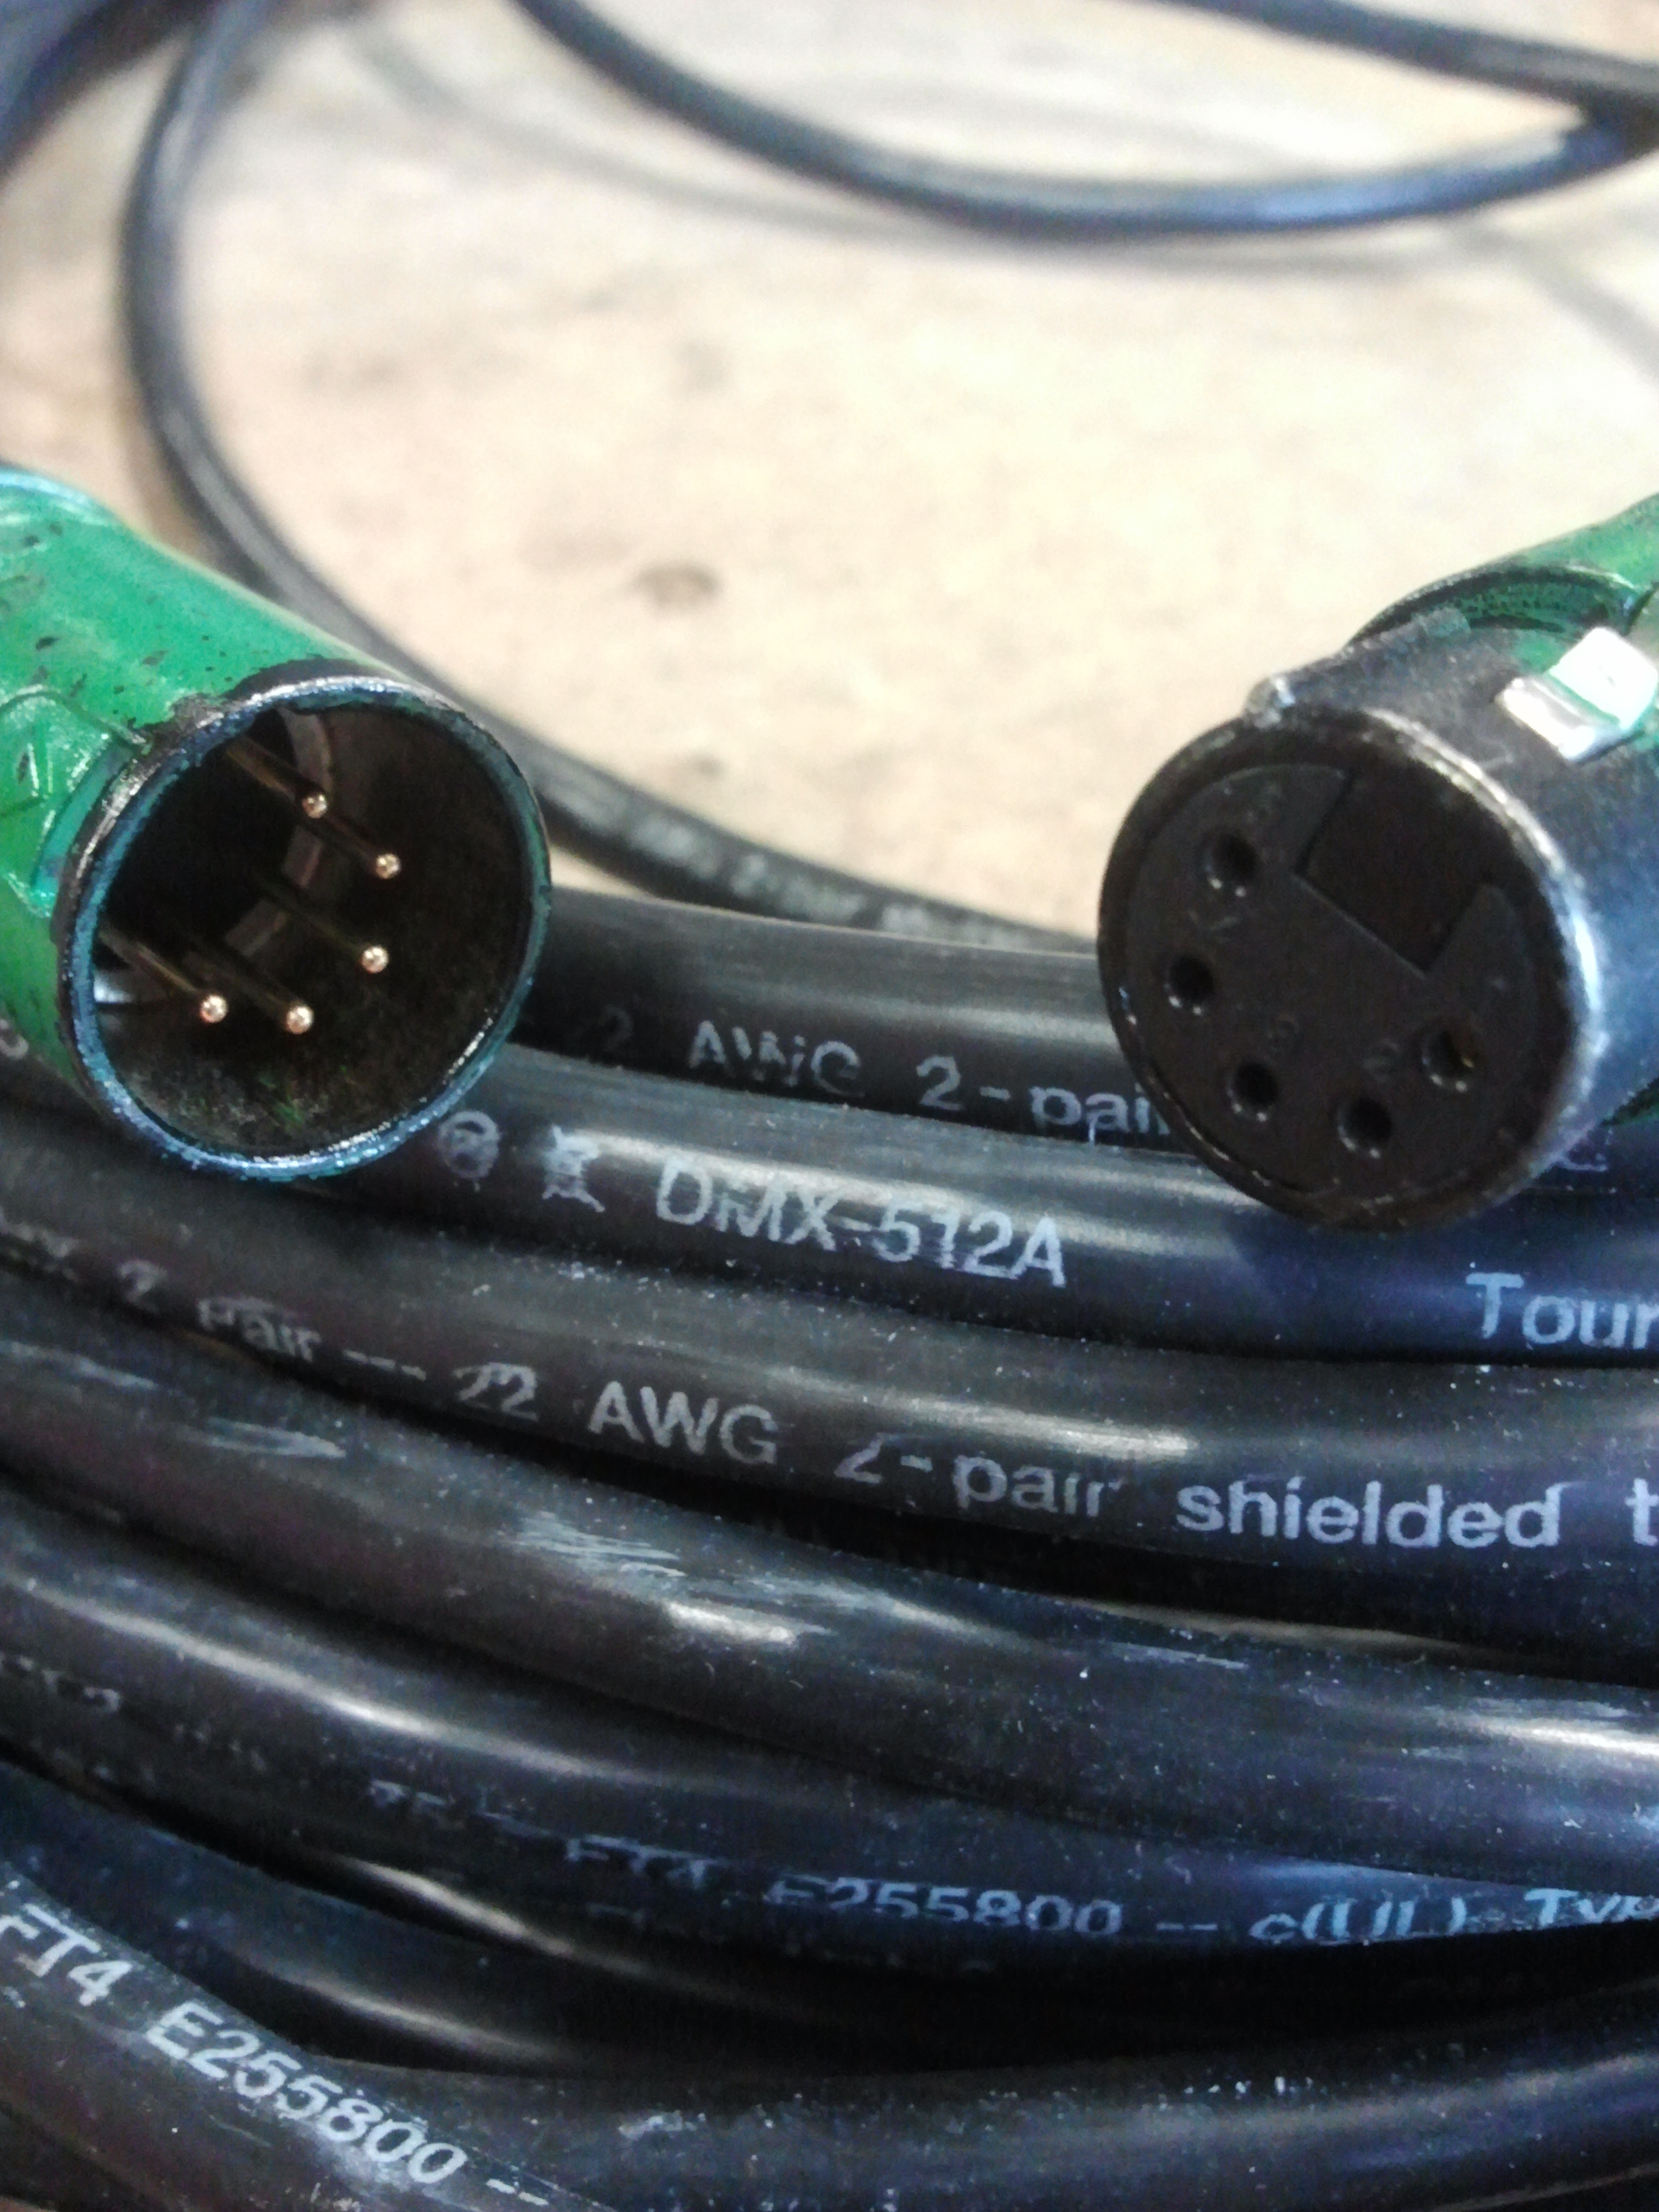
The type of connector used to interconnect fixtures. 5-pin XLR is the standard, but 3-pin XLR is widespread. So, look up your fixtures before going for the connector. A convertor can be used both ways without major issues, but highly recommended to check before hand.
Caution : Microphones also use 3-pin XLR albeit with different electrical specifications. Beware not to interchange.
The Setup
Well, connections are really simple and intuitive. Start from the DMX Output of a fixture, connect it to the DMX Input of the next one and repeat for all the ones. For the last fixture, you must use a Terminator (unrelated to any Arnold Schwarzenegger movie) on the DMX Output. Now in order to control each one you have to connect the mixer to the DMX Input of the first fixture.
The next thing we have to do is something known as Addressing. It is exactly what it sounds like. Essentially we are giving addresses to each fixture from 1-512. Each dimmer has a unique address. But for convinience we just have to give a starting address to a single fixture and then for the next one appropriately. Say that the first fixture has 3 dimmers; One for Red, Blue and Green. So we need addresses 1-3 for the first fixture. The next one might be a smoke machine with a single dimmer that controls the amount of smoke, then it would have the address 4. Then if the next is a light with Red, Blue and Green. So it would need 5-7.
Now depending on the mixer, you might not have a choice for the no of channels per fixture. For example, the commonly seen 192-channel generic mixer clones are limited to 12 fixtures each with 16 fixed channels. So, even if you have only 3 dimmers per fixture, you have to allot it 16 channels. This also means the starting addresses that you have to set on each fixture is 1,17,33,49,…177 incremeting 16 with each one.
The How-to
Now with your mixer and fixtures set up, we can see how to control it. On your mixer board, simply select your fixture, and control the corresponding channel. If we look at a setup using the forementioned mixer board and say 4 RGB Light Fixtures, just select the required fixture on the mixer and turn up the slider. Say we chose fixture 1, channel 3; if we increase it all the way up then that fixture (LED PAR Can) would be “All-Blue” (shameless One Piece plug, go watch it). If we select multiple fixtures and turn up the slider, the corresponding dimmer in all the lights turn on simultaneously. We can also use RGB values to create new colours, Full Red, Full Blue, no Green for example would result in Purple.
And that’s about all that I have to offer. There are far more techniques to create various effects, to save them and sync them to music and all. But that’s beyond the scope of this article. Even for what I just explained now, be sure to check the user manual (IMPORTANT!!!!) for both the fixtures and the mixer before using to get an idea for what everything does. If you can’t find one for your needs (like we did), you’re probably using some generic unbranded ones from China. I’ll put here some manuals (from which I learned it all) that I found for some generic ones if you’re also in pursuit of them.


